

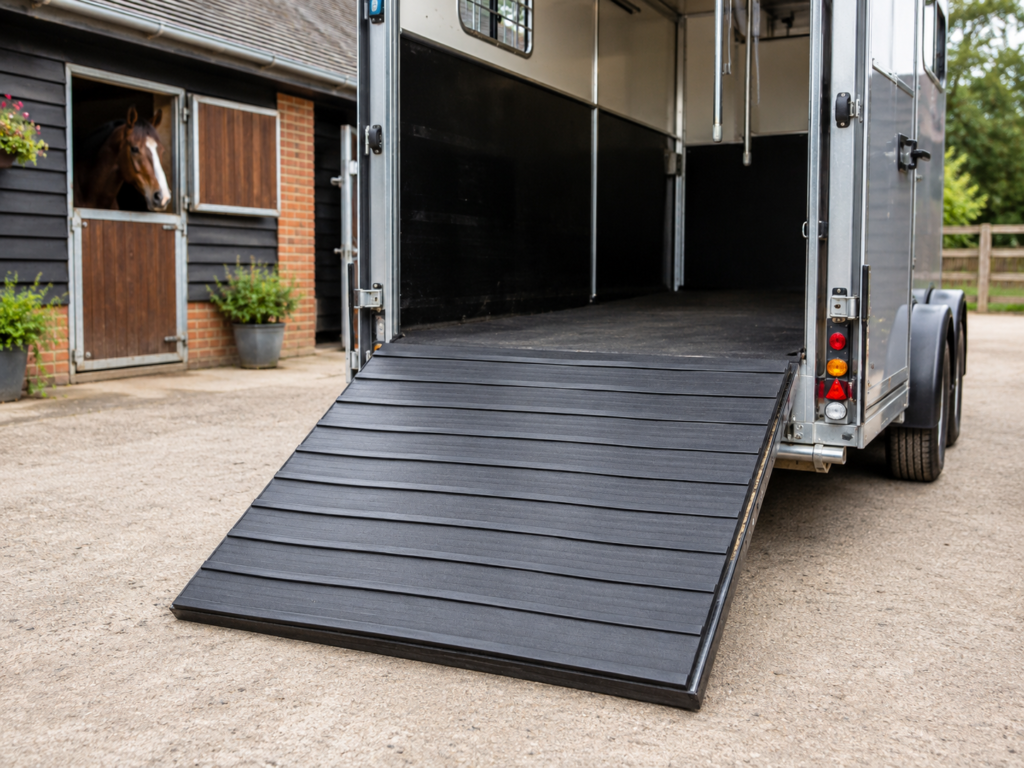
Refitting the floor of a trailer yourself is very doable, and it is one of the more satisfying jobs you can tackle on a horse vehicle. The key is patience. Horsebox rubber mats are heavy, the space is tight and trailer floors are rarely a simple rectangle, so a careful measure and a good template matter more than speed.
We will work through it in order, from the tool kit to the final walk-round. Before you start, make sure the floor beneath is structurally sound. If you find rot, corrosion or damage to the frame, get it repaired by a trailer engineer first. New mats should never be used to cover up a structural problem.
Tools and materials you’ll need
Gather everything before you begin, so you are not hunting for a blade halfway through a cut. A typical kit list:
- Tape measure, pencil and notebook
- Large sheets of cardboard or builder’s paper for templates
- Masking tape and a marker pen
- A long straight edge or metal rule
- A sharp utility knife with plenty of spare blades
- A cutting board or offcut of timber to protect the surface underneath
- Gloves, knee pads and sturdy boots
- Fixings and adhesive recommended for your trailer and mat type
- A helper for lifting and positioning mats
You will also need the mats themselves. Our horsebox rubber mats range is a good starting point when you know your measurements.
Measuring the floor, wheel arches and partitions
Remove the old mats, sweep and clean the floor and let it dry completely. Then measure the full internal length and width at floor level. Take measurements at the front, middle and back, because trailer walls are not always parallel.
Note the position and size of each wheel arch, measured from a fixed reference point such as the front wall and one side wall. Record the location of partition fixings, tie rings, drainage holes and anything else that interrupts the floor. A simple sketch with all these measurements is invaluable.
Decide whether you want one large mat or several pieces. One piece gives a seamless finish but is very heavy and hard to manoeuvre. Two or more pieces are easier to handle and can be joined under a partition or along a natural line.
Making a template and cutting mats cleanly
Lay cardboard or paper on the floor and tape sections together to cover the whole area. Push the edges into the corners and trace around wheel arches, posts and fixings. Cut the template to shape and test-fit it until it sits flat and fits neatly. Label it clearly with top side, front and back.
Transfer the template to the mat on a clean, flat surface, ideally indoors and at room temperature, because rubber cuts more cleanly when it is not cold. Mark the outline with a marker pen.
For straight cuts, clamp or hold the straight edge firmly and make several passes with the knife rather than trying to cut through in one go. For curves around wheel arches, take your time and use short, controlled strokes. Change blades often, as a blunt blade drags and tears rubber.
Fixing horsebox rubber mats so they don’t shift in transit
Mats that move in transit can unsettle a horse and allow water and urine to get underneath. Follow the fixing guidance from your trailer and mat manufacturers, which usually means mechanical fixings at set points, adhesive or a combination.
Make sure the floor is clean and dry before fixing. Position the mats, check alignment with your template and fix from the centre outwards so any slight wrinkles are pushed to the edges. Pay particular attention to joins and edges, where hooves are most likely to catch.
Some owners prefer loose-laid mats for easier lifting and cleaning. If you choose that route, the mats must still be held firmly by their fit and any partitions, with no risk of sliding. For a broader comparison, Wins Rubber Mats lists rubber mats for horse trailers you can look at alongside our own.
Ramp matting and wall linings
The ramp is the first surface your horse meets, and it needs reliable grip, especially on wet days. Check whether the existing matting is worn, lifting or slippery. If it is, replacing it at the same time as the floor makes sense. Our horsebox ramps are designed for this job, and Wins Rubber Mats also stocks horsebox ramps.
Wall linings protect legs and hips from knocks during travel. Padding on the lower walls and partitions is particularly helpful for horses that lean or scramble. Wins Rubber Mats’ stable wall padding is one option to consider. For small infill areas, such as around the jockey door or under a tack locker, a black rubber sheet can be cut to fit neatly.
Final checks before the first journey
Before you load a horse, go over the whole job carefully:
- Walk the floor and ramp, checking for any movement, lifting edges or gaps
- Check that all fixings are secure and none protrude
- Make sure drainage holes are clear
- Refit partitions and check they close and latch correctly
- Do a short test drive with the trailer empty, then check again for any movement
It is worth asking a knowledgeable friend or trailer specialist to take a second look, especially for your first refit.
A safer floor for every journey
Fitting horsebox rubber mats yourself takes care, but with accurate measuring, a good template, clean cuts and secure fixing, you can achieve a professional finish. Pay attention to the ramp and walls, and always run through a final check before the first trip.
When you have your measurements ready, browse the equestrian flooring range at Delta Rubber Imports. We import tough, good-value rubber and deliver quickly across the UK, so your trailer can be back on the road with a fresh, secure floor.