

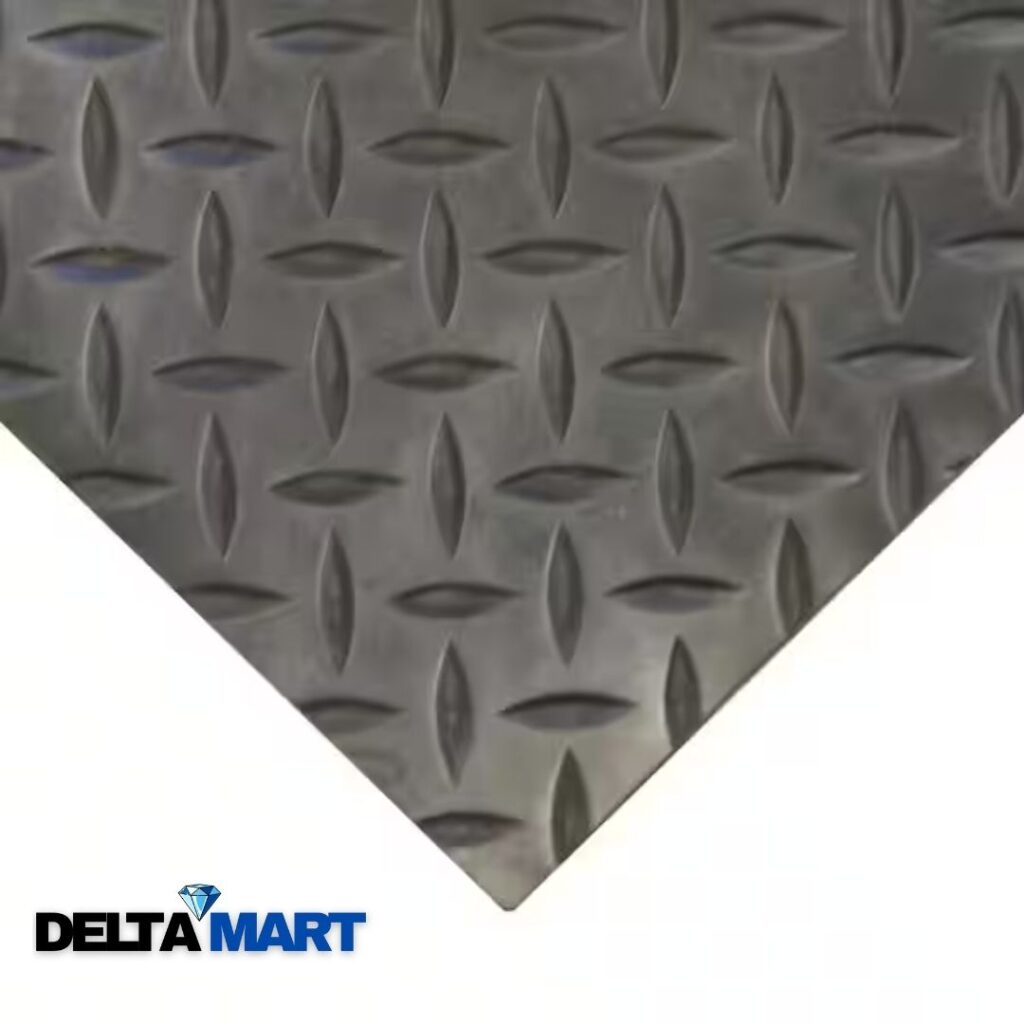
Heavy checker mats are one of the most popular ways to floor a home gym, garage or shed, and for good reason. They are tough, grippy and forgiving under weights and tools. They are also heavy, stiff and a little stubborn to cut, which catches out plenty of first-time DIYers. Laying checker rubber flooring well comes down to good handling, patience and the right blade. If you are still choosing, our checker rubber flooring is a heavy-duty diamond-pattern mat made for this kind of project.
Here are the practical steps, from getting mats off the delivery pallet to a tight, tidy finish.
Handling and moving heavy rubber mats safely
A full-size 6ft x 4ft mat is a serious weight. Before you start, check the product details so you know what you are lifting. Plan the route from where the mats are delivered to where they will be laid, and clear any obstacles.
Always lift with a helper where possible. Grip the mat along its long edge, bend your knees and keep your back straight. Many people find it easier to roll a mat loosely and walk it on its edge, or to slide it on a sack truck or trolley. Wear gloves for grip and sturdy footwear in case a mat slips. Never try to carry a mat up stairs on your own.
Smaller mats are far easier to manoeuvre into tight spaces. If your workshop or shed has a narrow door, a mat such as our workshop floor mats may save a lot of wrestling, and the same handling advice applies.
Letting mats settle and acclimatise
Rubber mats are often stacked or rolled in transit and may arrive slightly curved or with a memory of how they were packed. They also behave differently in the cold.
Lay the mats flat in the room where they will be fitted and leave them to settle for a day or two, ideally at normal room temperature. This lets them relax, flatten and adjust to the space. Fitting mats straight off a cold van often leads to gaps appearing later as they warm and settle.
Use the waiting time to prepare the floor. Sweep and vacuum thoroughly, scrape off any lumps of old adhesive or paint and fill obvious dips. Rubber will follow the shape of whatever is underneath, so a clean, level base is what gives you a flat finish.
Tools for clean straight cuts
You do not need specialist equipment, but you do need the right basics:
- A sharp utility knife with a strong handle and plenty of spare blades
- A long metal straight edge or spirit level
- A tape measure and a chalk line or marker pen
- A cutting surface, such as a sheet of plywood, to protect the floor
- Knee pads and gloves
Mark your line on the back of the mat if possible, where the surface is flat. Hold the straight edge firmly and make several shallow passes rather than one deep cut. As the cut deepens, bend the mat slightly away from the cut to open it up and make the next pass easier. Change blades frequently; a blunt blade drags and leaves a ragged edge.
Cutting around doors, pipes and pillars
Obstacles are where a template saves time and mistakes. Cut a piece of cardboard to the size of the mat, position it in place and mark around the obstacle. Cut out the shape in cardboard first, test it and adjust until it fits. Then transfer the shape to the mat.
For pipes, cut a hole slightly smaller than the pipe and a straight slit from the hole to the nearest edge, so the mat can be slipped around it. For door frames and pillars, cut slightly tight and trim to fit; you can always take more off, but you cannot put it back.
In very awkward rooms, it can be easier to fill the edges with smaller rubber floor tiles rather than cutting complex shapes from a full-size mat. Tiles can be trimmed individually and replaced on their own if one gets damaged.
Tight joints, edges and whether to glue
Butt joints should be tight, with no visible gap. Lay the first mat square to the most important wall, then push each subsequent mat firmly against its neighbour. A rubber mallet can help nudge stubborn mats into place.
Most heavy checker mats can be loose-laid, relying on their weight and tight fit to stay in place. That makes them easy to lift and move. Gluing may be worthwhile in high-traffic commercial spaces or where mats are likely to be pushed sideways, but it makes future changes harder. If you do glue, use an adhesive recommended for rubber flooring and follow the instructions carefully. For more products suited to laying rubber flooring projects like this one, Wins Rubber Mats is worth a browse.
Common mistakes and how to fix them
Even careful DIYers make a few classic mistakes:
- Skipping acclimatisation, then finding gaps appear. Fix: lift and relay once mats have settled.
- Cutting from the patterned face, which makes straight lines harder. Fix: mark and cut from the back.
- Using a blunt blade, leaving ragged edges. Fix: trim with a fresh blade.
- Laying on a dirty floor, causing lumps. Fix: lift, sweep and relay.
- Starting in the wrong corner, so cuts end up in the doorway. Fix: plan the layout on paper first.
If you are comparing mats before you buy, Wins Rubber Mats also carries checker rubber flooring, and its rubber garage flooring range is useful if your project is a garage rather than a gym.
Getting a professional finish with checker rubber flooring
Laying checker rubber flooring is well within reach of a confident DIYer. Handle mats safely, let them settle, cut from the back with a sharp blade and take your time around obstacles.
Browse the gym and commercial flooring range at Delta Rubber Imports to find mats for your project. Our rubber is tough, fairly priced and shipped promptly to UK addresses, so your floor can be down by the weekend you have set aside for it.